Hello Coders, In this blog, I will walk you through Creating a Multi Step Progress Bar in HTML, CSS, and JavaScript. If you have read my earlier blogs, you know I have shared many posts about How to Animate Navigation Menus with HTML and CSS. Now it is time to build a Multi-Step in HTML.
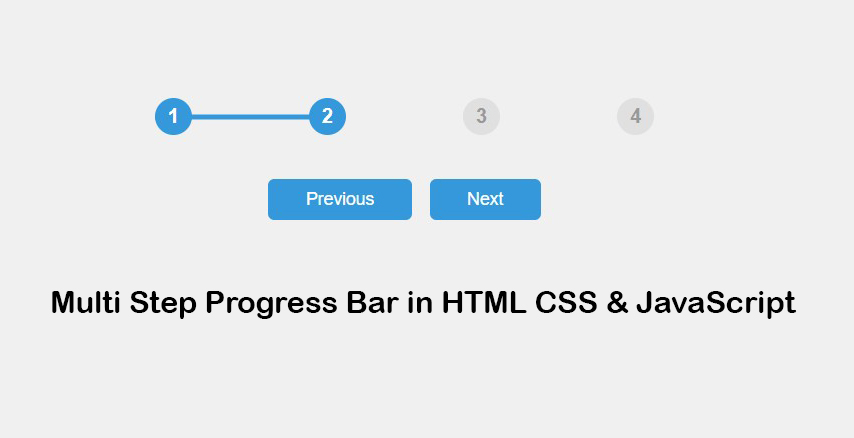
A Multi Step Progress Bar is a long which is divided into smaller sections. This type of Multi Step Form contains fields that you need to enter in a sequential manner before the form gets submitted. Some Multi Step Progress Bar on the upper portions of their forms while on some websites it’s positioned at the bottom. Normally, This progress bar shows to the user what stage they are at in the process so what steps have been completed and what steps are interms of progress.
As many of you have seen, these types of Multi Step Progress Bar can be found on many websites. Some of them are created using Bootstrap. But today, I am going to present to you this program (Multi-Step Step Progress Bar) that I created using just HTML, CSS and JavaScript.
What You’ll Learn:
- How to structure the Multi Step Progress Bar with HTML
- How to style the Multi Step Progress Bar using CSS
- How to make the Multi Step Progress Bar functional with JavaScript
Step 1: Structure the Multi Step Progress Bar with HTML
Start by creating a new file called (index.html). Then, copy and paste the HTML code provided into this file. Remember to save it with the (.html) extension.
<!DOCTYPE html>
<html lang="en">
<head>
  <meta charset="UTF-8">
  <title>Multi Step Progress Bar</title>
  <link rel="stylesheet" href="style.css">
</head>
<body>

<div class="container">
  <div class="progress-container">
    <div class="progress" id="progress"></div>
    <div class="circle active">1</div>
    <div class="circle">2</div>
    <div class="circle">3</div>
    <div class="circle">4</div>
  </div>

  <button class="btn" id="prev" disabled>Previous</button>
  <button class="btn" id="next">Next</button>
</div>

<script src="script.js"></script>
</body>
</html>
Step 2: Styling the Multi Step Progress Bar with CSS
Create a new file called (style.css) and copy the provided code into this file. Don’t forget to save it with the (.css) extension.
* {
  box-sizing: border-box;
}

body {
  font-family: sans-serif;
  background: #f0f0f0;
  display: flex;
  justify-content: center;
  align-items: center;
  height: 100vh;
}

.container {
  width: 400px;
  text-align: center;
}

.progress-container {
  display: flex;
  justify-content: space-between;
  position: relative;
  margin-bottom: 30px;
  width: 100%;
}

.progress {
  position: absolute;
  top: 50%;
  left: 0;
  transform: translateY(-50%);
  height: 4px;
  width: 0%;
  background-color: #3498db;
  z-index: -1;
  transition: 0.4s ease;
}

.circle {
  width: 30px;
  height: 30px;
  background-color: #e0e0e0;
  border-radius: 50%;
  display: flex;
  justify-content: center;
  align-items: center;
  font-weight: bold;
  color: #999;
  transition: 0.4s ease;
}

.circle.active {
  background-color: #3498db;
  color: white;
}

.btn {
  background-color: #3498db;
  color: white;
  border: none;
  padding: 8px 30px;
  margin: 5px;
  cursor: pointer;
  border-radius: 5px;
  font-size: 14px;
}

.btn:disabled {
  background-color: #ccc;
  cursor: not-allowed;
}
Step 3: Adding Multi Step Progress Bar JavaScript Functionality
Create a new file named (script.js), then copy and paste the JavaScript code into this file. Be sure to save it with the (.js) extension.
const progress = document.getElementById('progress');
const prev = document.getElementById('prev');
const next = document.getElementById('next');
const circles = document.querySelectorAll('.circle');

let currentActive = 1;

next.addEventListener('click', () => {
  currentActive++;

  if (currentActive > circles.length) {
    currentActive = circles.length;
  }

  update();
});

prev.addEventListener('click', () => {
  currentActive--;

  if (currentActive < 1) {
    currentActive = 1;
  }

  update();
});

function update() {
  circles.forEach((circle, idx) => {
    if (idx < currentActive) {
      circle.classList.add('active');
    } else {
      circle.classList.remove('active');
    }
  });

  const actives = document.querySelectorAll('.circle.active');

  progress.style.width = ((actives.length - 1) / (circles.length - 1)) * 100 + '%';

  prev.disabled = currentActive === 1;
  next.disabled = currentActive === circles.length;
}
Final Conclusion
That’s it. You now have a working Multi Step Progress Bar built in HTML, CSS and JavaScript. If for any reason your code isn’t working or you are facing an error/problem, feel free to download the source code files using the provided download button. It’s free and will download as a .zip file which you will then need to extract.
Happy Coding!