Create Responsive Pricing Card Using HTML and CSS
Hey Everyone! Good to see you once again at CodingDevhub. In this blog, create a responsive pricing cards. This is a great project to take up if you are at the beginning levels of learning HTML and CSS. Without wasting too much time, let’s get started.
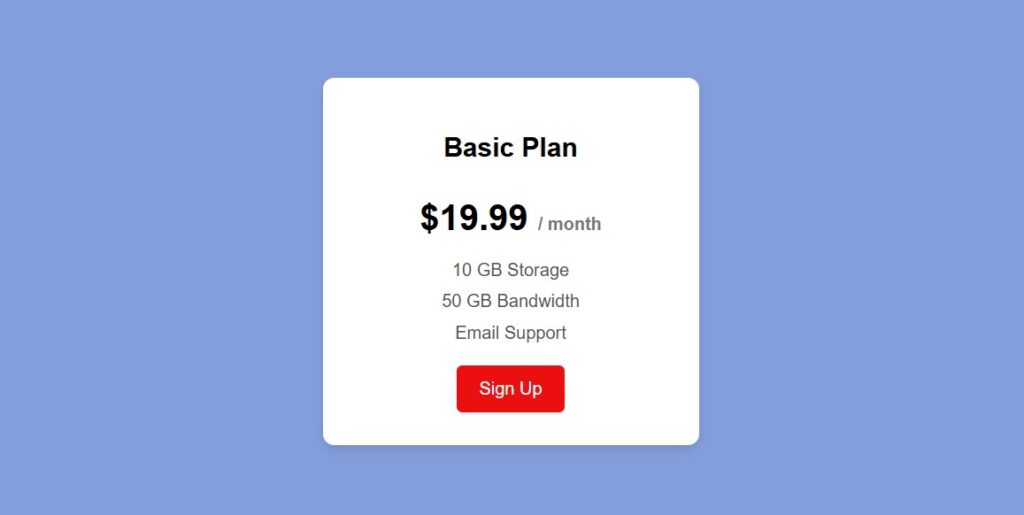
As you start in web development, you should learn how to design and arrange its basic parts. One of such parts is the pricing card, a common component used on web pages to show different subscription plans and their prices.
In this post, I want to guide you on create simple pricing card in HTML and CSS with a specific focus on beginners, which is why the instructions are easy to follow. In the course of the post, you will come across several HTML elements and some CSS properties that complement the overall design of the pricing card, which makes it hard to resist.
In order to put together this pricing card, a few commonly used HTML elements such as div, h2, h1, and button, with their basic CSS properties will be included. Because this project is for beginners, it should be easy to friendly.
What You’ll Learn:
- How to structure the Pricing Card with HTML
- How to style the Pricing Card using CSS
Step 1: Setting up the HTML Structure
Start by creating a new file called (index.html). Then, copy and paste the HTML code provided into this file. Remember to save it with the (.html) extension.
<!DOCTYPE html>
<html lang="en">
<head>
  <meta charset="UTF-8">
  <meta name="viewport" content="width=device-width, initial-scale=1.0">
  <title>Pricing Card</title>
  <link rel="stylesheet" href="styles.css">
</head>
<body>
  <div class="pricing-card">
    <h2 class="pricing-title">Basic Plan</h2>
    <p class="price">$19.99 <span>/ month</span></p>
    <ul class="features">
      <li>10 GB Storage</li>
      <li>50 GB Bandwidth</li>
      <li>Email Support</li>
    </ul>
    <button class="cta-button">Sign Up</button>
  </div>
</body>
</html>
Step 2: Styling the Calculator with CSS
Create a new file called (style.css) and copy the provided code into this file. Don’t forget to save it with the (.css) extension.
body {
  font-family: Arial, sans-serif;
  background-color: #839edc;
  display: flex;
  justify-content: center;
  align-items: center;
  height: 100vh;
  margin: 0;
}

.pricing-card {
  background-color: #ffffff;
  border-radius: 10px;
  box-shadow: 0 4px 8px rgba(0, 0, 0, 0.1);
  padding: 30px;
  text-align: center;
  width: 280px;
  transition: transform 0.3s ease, box-shadow 0.3s ease;
}

.pricing-card:hover {
  transform: scale(1.05); /* Slight zoom effect */
  box-shadow: 0 8px 16px rgba(0, 0, 0, 0.2); /* Enhanced shadow on hover */
}

.pricing-title {
  font-size: 24px;
  margin-bottom: 20px;
  transition: color 0.3s ease;
}

.pricing-card:hover .pricing-title {
  color: #4CAF50; /* Change title color on hover */
}

.price {
  font-size: 32px;
  font-weight: bold;
  margin-bottom: 20px;
  transition: color 0.3s ease;
}

.price span {
  font-size: 16px;
  color: #777;
}

.features {
  list-style: none;
  padding: 0;
  margin-bottom: 20px;
}

.features li {
  font-size: 16px;
  margin-bottom: 10px;
  color: #555;
  transition: color 0.3s ease;
}

.cta-button {
  background-color: #ec0f0f;
  color: rgb(255, 255, 255);
  border: none;
  padding: 12px 20px;
  font-size: 16px;
  cursor: pointer;
  border-radius: 5px;
  transition: background-color 0.3s, transform 0.3s;
}

.cta-button:hover {
  background-color: #45a049; /* Darken on hover */
  transform: translateY(-3px); /* Slight lift effect on hover */
}

.cta-button:active {
  transform: translateY(2px); /* Button presses down slightly when clicked */
}

/* Responsive design */
@media (max-width: 768px) {
  .pricing-card {
    width: 100%;
    max-width: 320px; /* Card width adapts to smaller screens */
    padding: 20px;
  }

  .pricing-title {
    font-size: 20px;
  }

  .price {
    font-size: 28px;
  }

  .features li {
    font-size: 14px;
  }

  .cta-button {
    font-size: 14px;
    padding: 10px 15px;
  }
}
Final Conclusion
For anyone looking to learn web development, building a pricing card with will easily be a great first project. In this blog post we outline the straightforward steps and codes needed to make a beautiful pricing card.
To keep improving your HTML and CSS skills, be sure to try and recreate the other cool CSS cards on this website. If you run into challenges, click the Download button to obtain the source code files to this project for free. These will be provided in a zip file that will automatically download to your device.
Happy Coding!